Get started with Okta Verify on Windows devices
Adding an account in Okta Verify is a simple two-step process. First, sign in to your organization's Okta account on your computer, then confirm your identity by using biometrics.
Note for administrators: Okta Verify for Windows is only available on Okta Identity Engine.
Okta Verify features are available based on configurations made by your organization.
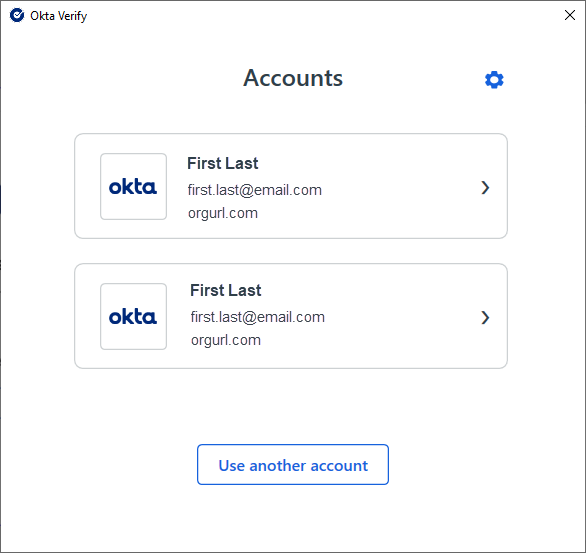
Follow these guidelines before you add an account to Okta Verify on a second desktop device:
- To enroll in Okta Verify on multiple desktop devices, you must enroll with an additional authentication factor (for example, Yubikey, SMS, or Okta Verify with Push), which you can use to sign in on the additional desktop devices.
- If your first Okta Verify enrollment is on a desktop device, your next Okta Verify enrollment can only be on a mobile device. Open your organization’s Okta account on your desktop, go to Okta Verify, click Set up, and then select your device type. A QR code appears on the screen. From your mobile device, scan the QR code to enroll.
If you try to set up Okta Verify on a second desktop device without following the above guidelines, you will be prompted repeatedly to enroll using Okta Verify, which is not possible in this circumstance.
Before you begin
Obtain your organization’s sign-in URL. This might be available in the Welcome/Activation email that you received from your administrator.
Start this task
- If your IT department did not already install Okta Verify on your device, install the app that is available on your device or made available to you by your administrator when prompted.
- Open Okta Verify.
- Click .
- Enter your organization’s sign-in URL.
- Click Next.
- In the browser window, complete the following in the Sign-In Widget:
- Enter your email address, and then click Next.
- Enter your password, and then click Verify.
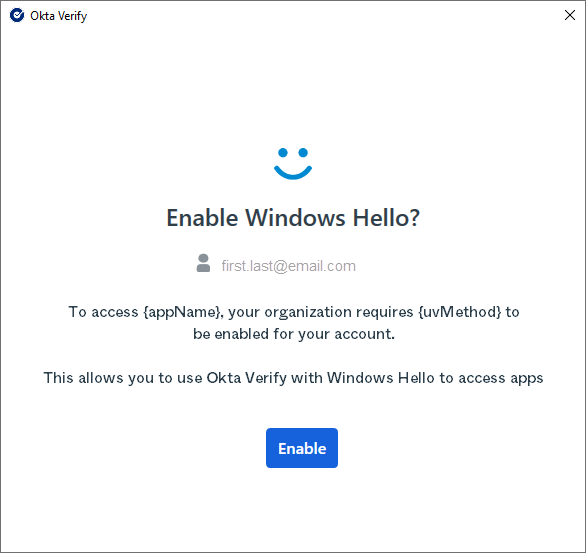
- As applicable, complete one of the following:
- If your device supports biometric authentication, enable Windows Hello in Okta Verify, and then click Enable.
- If Windows Hello is not yet set up on your device, set it up now. Click Setup, return to Okta Verify to enable Windows Hello, and then scan your finger on the fingerprint reader.
- If you click the More choices link, you are prompted to add a cryptographic key. Enter the key, confirm it, and then click OK.
For example, click Start and search for Okta Verify, click the Okta Verify desktop shortcut, or if the app is running, from the Windows system tray, right-click the .
Your sign-in URL is the web address you use in your browser to access your company’s portal. It might also be available in the Welcome/Activation email that you received from your administrator.
A browser window opens.
A message confirms that your account was added successfully.
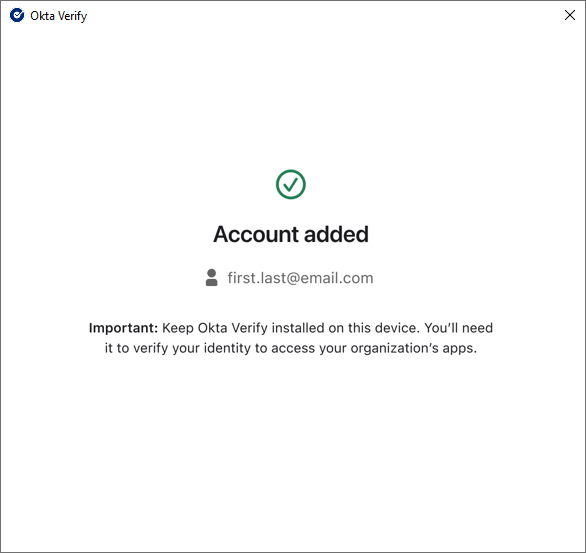
You can now use Okta Verify to authenticate when you access apps.