Enable or update Touch ID on macOS devices
If your device supports Touch ID user verification, you can use it to verify your identity when you sign in with Okta Verify. When Touch ID is required, you must enable Touch ID to access your account.
Note for administrators: Okta Verify for macOS is only available on Okta Identity Engine.
Start this task
- Open Okta Verify.
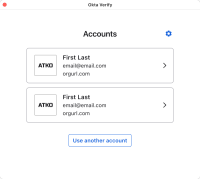
- On the Accounts page, click the account you want to enable Touch ID for.
-
On the Touch ID with Okta Verify page, click Next.
-
Click Enable Touch ID.
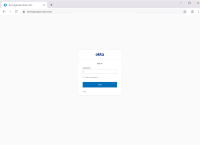
- In the new tab that opened, enter your username.
- Click Next.
- Enter your password.
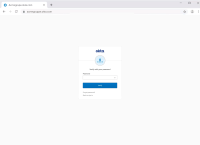
- Click Verify. A message confirms that your identity was verified.
For example, click the Okta Verify desktop shortcut, or if the app is running, from the menu bar extras, click the Okta Verify icon > Open.
If an account has an indicator beside it, Touch ID is required but not enabled, or it needs an update.
If this is the first time you set up Touch ID, you must first set up your fingerprint in the system settings. Click Add fingerprint and follow the instructions. Place a finger on the Touch ID sensor when prompted. Ensure that the edges of your fingerprint are captured during Touch ID enrollment. Otherwise, you might receive an error when you enable Touch ID in Okta Verify.
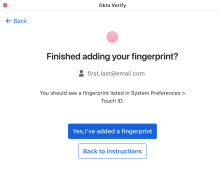
If prompted, click Yes, I've added a fingerprint.
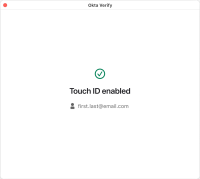
The Touch ID enabled message confirms that your Touch ID was successfully added to your Okta Verify account.

