Disable Touch ID on macOS devices
If your device supports Touch ID verification and it is currently enabled, you can disable it for an Okta Verify account on your macOS device.
Note for administrators: Okta Verify for macOS is only available on Okta Identity Engine.
Okta Verify features are available based on configurations made by your organization.
Before you begin
Be aware that you will not be able to disable Touch ID user verification if your org requires it to remain enabled.
Start this task
- Open Okta Verify.
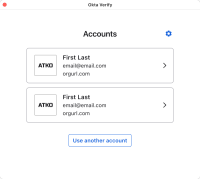
- On the Accounts screen, click the account for which you want to disable Touch ID.
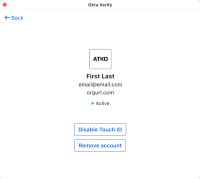
- Click Disable Touch ID.
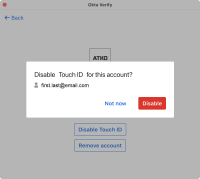
- Click Disable.
- As applicable, complete one of the following:
- If your laptop lid is open, place a finger on the Touch ID sensor when prompted, to disable Touch ID.
- If your laptop lid is closed (clamshell mode):
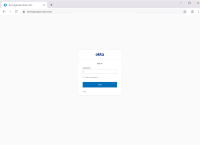
For example, click the Okta Verify desktop shortcut, or if the app is running, from the menu bar extras, click the Okta Verify icon > Open.
If the Disable Touch ID button is not available: your organization requires Touch ID user verification.
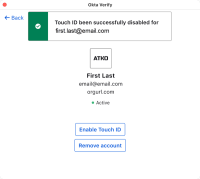
The Account details screen appears with a message to indicate that Touch ID was successfully disabled for the account.

