Set a default Okta FastPass account on macOS devices
If you have more than one Okta Verify account that uses Okta FastPass, you can set the most frequently used account as your default Okta FastPass account. You can also change the current default account to a different account at any time.
Note for administrators: Okta Verify for macOS is only available on Okta Identity Engine.
Okta Verify features are available based on configurations made by your organization.
When you user enter you username or email during authentication, Okta Verify uses that account for Okta FastPass authentication. If you do not enter a username or email, Okta Verify uses the default Okta FastPass account, or a random account if a default account is not set up.
If your default Okta FastPass account is invalid, an error appears on the Account page. To resolve this problem, re-enroll your account or choose a different account as the default.
- Open Okta Verify.
For example, click the Okta Verify desktop shortcut, or if the app is running, from the menu bar extras, click the Okta Verify icon > Open.
- On the Account details screen, click the account you want as your default Okta FastPass account.
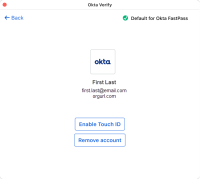
- If the Account screen has a Default for Okta FastPass indicator in the top right corner, the account you selected is already set as the default and your process is complete; otherwise, proceed to step 4.
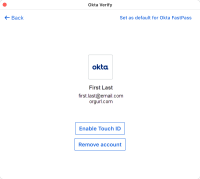
- Click the Set as default for Okta FastPass link.
If you only have one account on your Account details screen, this link is not available.
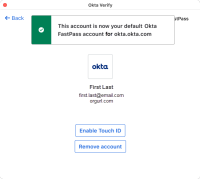
A message confirms that you successfully set the account as the default.


